Cleaning a stainless steel well screen is a crucial maintenance task to ensure the longevity and efficiency of your well. Over time, the screen can become clogged with sediment and mineral deposits, which can reduce water flow and quality. Here’s a step-by-step guide on how to clean a stainless steel well screen:
Specifications of stainless steel wedge wire screens for well drilling:
Slot size (mm): 0.10, 0.15, 0.2, 0.25, 0.30-3mm
Open area: up to 60%
Material: low carbon, low carbon galvanized steel (LCG) steel , stainless steel (304 etc.)
Lengths up to 6 meters for container
Diameter: ranging from 25 to 800mm
End connection: threaded coupling or welded end
Material: Low Carbon Galvanized ( LCG ) and Stainless Steel (SS)
Slot (mm): 0.1,0.25,0.50,0.75,1.00,1.50,2.00,3.00 and so on.
| Specification (wedge wire): | Width(mm): 1.50 1.80 2.30 3.00 3.30 3.70 Height(mm): 2.20 2.50 2.70 3.60 4.30 4.70 5.60 6.30 7.00 |
| Specification (support rod): | Width(mm): 2.30 3.00 3.30 3.70 Height(mm): 2.70 3.60 4.70 5.60 6.30 Round: From 2.50mm to 6.0mm |
| Note: other specifications available as per request | |
| Slot size | 0.10, 0.15, 0.20, 0.25, 0.30… 6.00mm also achieved upon request. |
| Material: | galvanized low carton (LCG), stainless steel (304,316 etc.) |
| Length | up to 6 meters. |
| Diameter | from 25mm to 1200mm. |
| End connection | Plain beveled ends, flanged or threaded couplings |
Materials Needed
- Bucket of warm water
- Mild dish soap
- Soft bristle brush
- White vinegar or a commercial descaler (for mineral deposits)
- Soft, clean cloth
Steps
1. Remove the Well Screen
First, you’ll need to safely remove the well screen. This process will vary depending on the type and depth of your well, so refer to the manufacturer’s instructions or consult a professional if needed.
2. Rinse with Warm Water
Rinse the well screen with warm water to remove loose silt and debris.
3. Prepare a Soap Solution
Mix a few drops of mild dish soap into a bucket of warm water. This will serve as your cleaning solution.
4. Scrub the Well Screen
Dip a soft bristle brush into the soap solution and gently scrub the well screen. Be thorough but careful to avoid damaging the mesh.
5. Rinse and Inspect
Rinse the well screen with clean water. Inspect it closely for any remaining dirt or debris. If the screen still appears dirty, repeat the scrubbing process.
6. Handle Mineral Deposits
If there are mineral deposits on the well screen, soak it in a solution of white vinegar or a commercial descaler. Follow the instructions on the descaler’s label. After soaking, gently scrub and rinse the screen again.
7. Dry the Well Screen
Pat the well screen dry with a clean cloth. Allow it to air dry completely before reinstalling it to prevent any potential bacterial growth.
8. Reinstall the Well Screen
Once the well screen is thoroughly dry, reinstall it according to the manufacturer’s instructions. Again, consider seeking professional help if necessary.
Note
Remember, while regular cleaning can significantly extend the life of your well screen, it’s also essential to monitor the quality of your well water. If you notice a consistent drop in water quality or flow rate, it might be time to replace the well screen. Always refer to the manufacturer’s instructions or consult with a well professional for specific cleaning guidelines and maintenance tips.
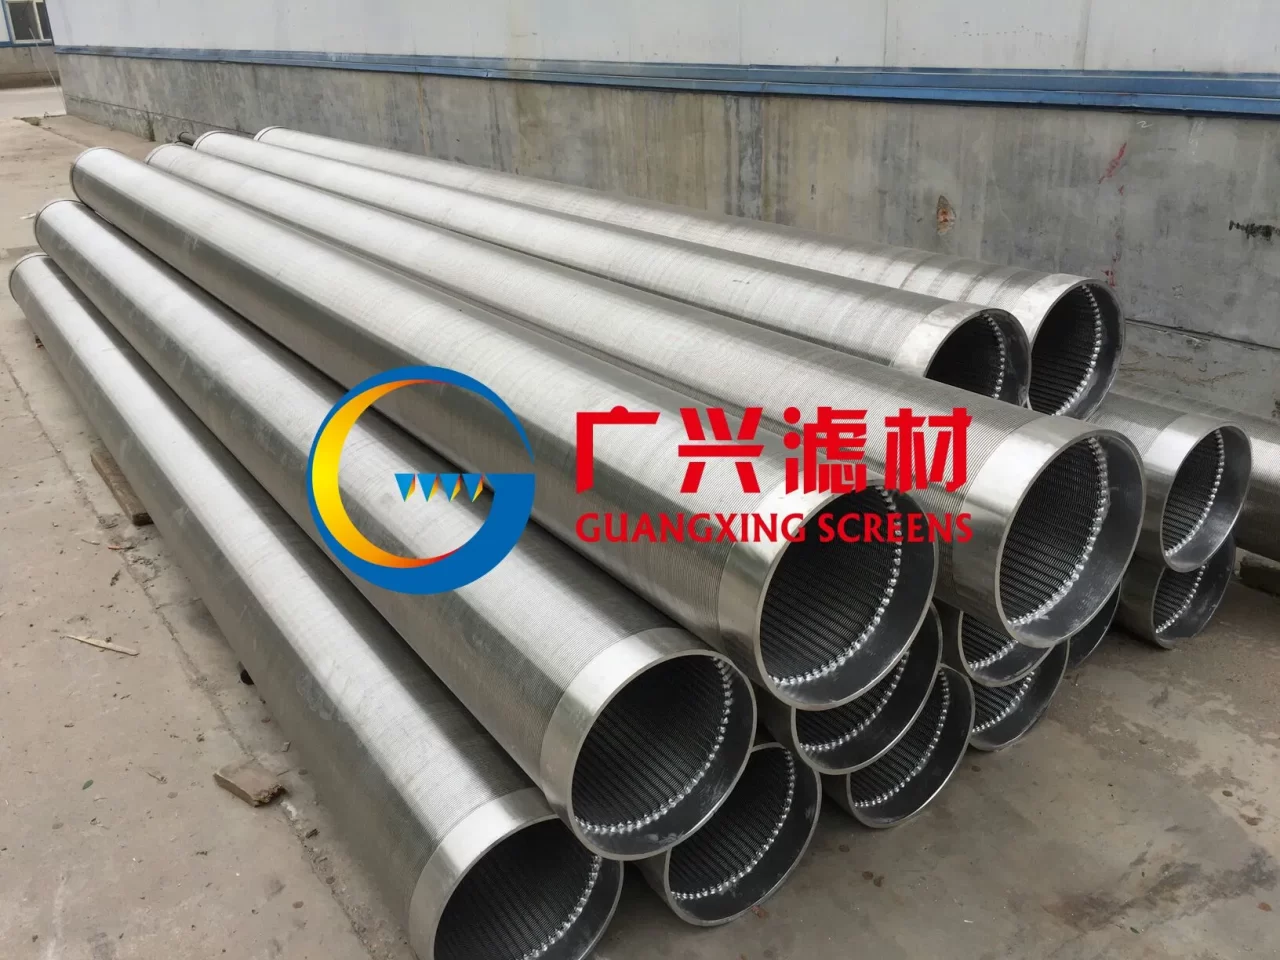
The water well screen is an important component of a well that allows water to flow into the well while preventing sediment and other debris from entering. The screen is typically located at the bottom of the well, near the aquifer. This is done to ensure that only clean water is collected and that any sediment or dirt is filtered out. The screen is typically made from a perforated pipe or other type of material that has small openings to allow water to pass through while blocking sediments from entering. Abter well screen is manufactured with a continuous v-shaped slot to reduce the entrance velocity of water and encrustation rates. Besides, Filson well screen has a large surface area without clogging, thus provide superior filtration performance. Well screen slot size selection is a critical step, typically based on the particle size analysis of the formation sample. With the standard slot size range from 0.005” to 0.5”, Filson well screen can control sand particles and silt from the well perfectly. Advantages of Water Well Screens 1. The V-shape section plane of water well screens creates the continuous slot, which can avoid blockage and make sure of the unimpeded water. Read more
PARAMETER Geothermal Pipe based well screen specification: Nominal Diameter Pipe OD(mm) Weight lb/ftW.T[mm] Hole size In Holes per foot Total Areaofholes in2/ft Screen OD (in) 2-3/8 60 4.6[4.83] 3/8 96 10.60 2.86 2-7/8 73 6.4[5.51] 3/8 108 11.93 3.38 3-1/2 88.9 9.2[6.45] 1/2 108 21.21 4.06 4 101.6 9.5[5.74] 1/2 120 23.56 4.55 4-1/2 114.3 11.6[6.35] 1/2 144 28.27 5.08 5 127 13[6.43] 1/2 156 30.63 5.62 5-1/2 139.7 15.5[6.99] 1/2 168 32.99 6.08 6-5/8 168.3 24[8.94] 1/2 180 35.34 7.12 7 177.8 23[8.05] 5/8 136 42.16 7.58 7-5/8 194 26.4[8.33] 5/8 148 45.88 8.20 8-5/8 219 32[8.94] 5/8 168 51.08 9.24 9-5/8 244.5 36[8.94] 5/8 188 58.28 10.18 10-3/4 273 45.5[10.16] 5/8 209 64.79 11.36 13-3/8 339.7 54.5[9.65] 5/8 260 80.60 14.04 What is Geothermal Well Screen? Geothermal well screens are an essential component of a geothermal well system. They are used to filter and protect the geothermal well from debris and other contaminants that can be harmful to the system. Sand Control Screens are designed to be durable and reliable, providing long-term protection for the well. The geothermal well screen is a cylindrical tube made of a perforated metal or plastic material. The perforations are designed to allow Read more
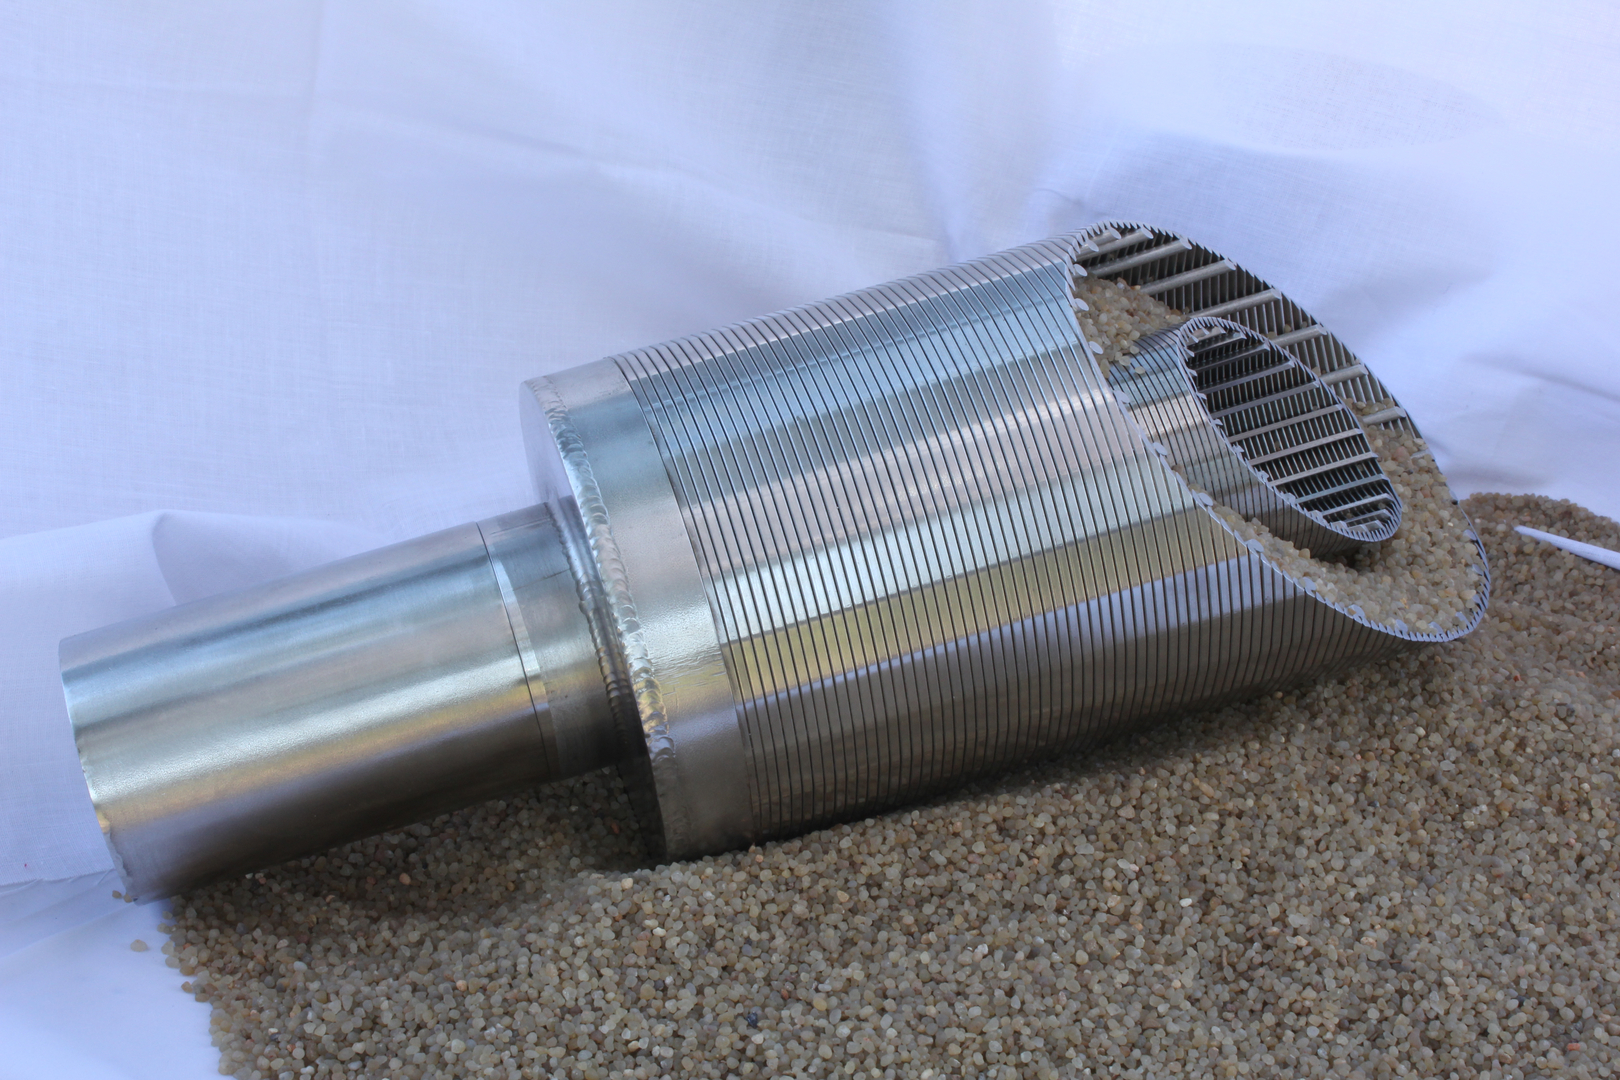
Pre Packed Sand Screen contains perforated base pipe, inner and outer screen jackets and graded sand between the jackets. It is a modification of wire wrapped screen which is used in well sorted sand or stand-alone completion. Graded sand, with or without resin coating, is considered as a filter for reservoir particles. Wire wrapped pre Pre Packed Sand Screen is used in wells where conventional gravel packing is not feasible or economical. The thickness of gravel layer can be varied to meet special requirement. What Is the Function of Gravel Pack? Gravel packing is one of popular sand-control technique used in oil, water and gas wells. It stabilizes the borehole and filters the sand from the flow, only allowing very fine particles in. Pre Packed Sand Screen wire wrapped sand screen brings it into full play in maximizing production as well as controlling the sand. Diameter: 168mm Material: stainless steel,carbon steel,etc Slot: 0.2mm End Connection: thread,coupling,etc thickness: 10mm Pre Packed Sand Screen PRODUCT SPECIFICATIONS Base Pipe Gravel Pack Perforations Screen OD (in.) ID (in.) Weight (lbs.) Coupling OD (in.) Thickness (in.) Size (in.) Holes/ft. OD (in.) Cylinder Area (sq. in./ft) 006 GA Inlet Area (sq. in./ft) 1.9 1.61 2.75 Read more
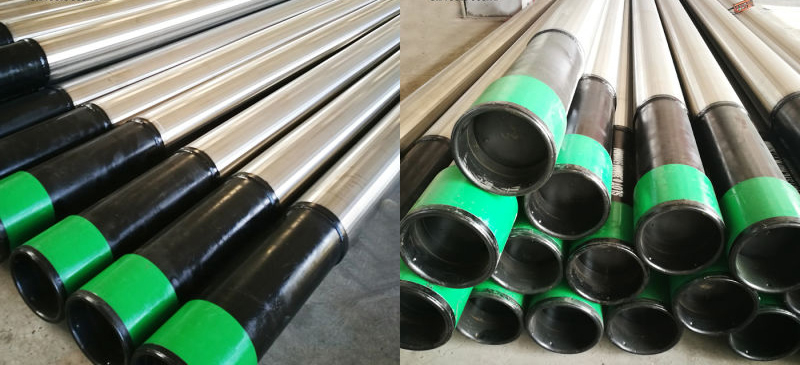
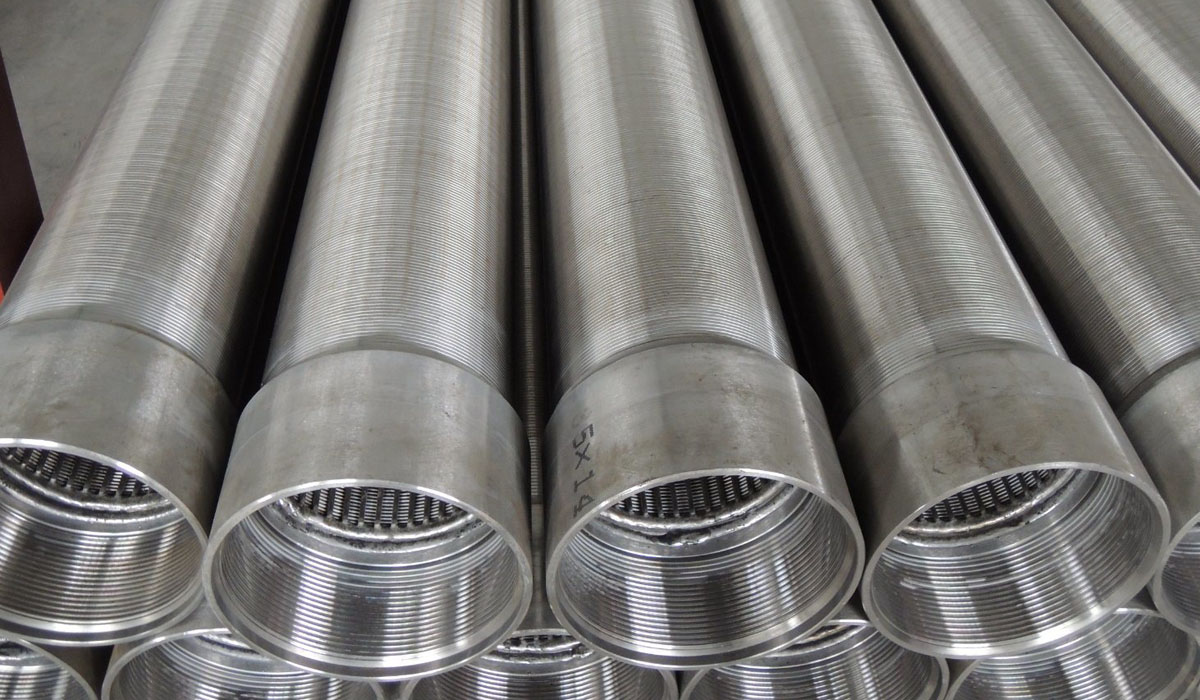
1. Grade: SUS 304 SUS304L, SUS316, SUS316L, or carbon steel 2. Slot Size: 0.02mm~15mm 3. Standard: DIN AISI ASTM 4. Certification: ISO9001, API 5CT 5.Pipe based well screens consist of base pipe,all-welded wedge wire screen and supporting rod.The base pipe is perforated or slotted API casing pipe,the base pipe can be stainless steel or carbon steel API 5CT casing.The all-welded wedge wire screens are welded together with base pipe by supporting rod. 6.Features of Pipe Based Well Screens: 1)Higher filtering accuracy: all-welded wedge wire screens as screen jacket with vee opening design makes the filtering accuracy higher,which can control sand better. 2)Excellent strength and resistance to deformation: The base pipe inside,the outside can be protected with the protection jacket added according to requirements,the integrated strength of the perforated base pipe only decreases 2~3% compared with the standard casing/oil tubing,so the pipe based well screens have enough integrated strength to resist to the pressure caused by strata.Even if some part of the well screens deformed,the slot of this part will not be widened,which makes higher sand controlreliability 3)More choices: the material of screen jacket can be stainless steel or carbon steel,the material can be chosen as per customers'requirement. 4)The smaller slot Read more
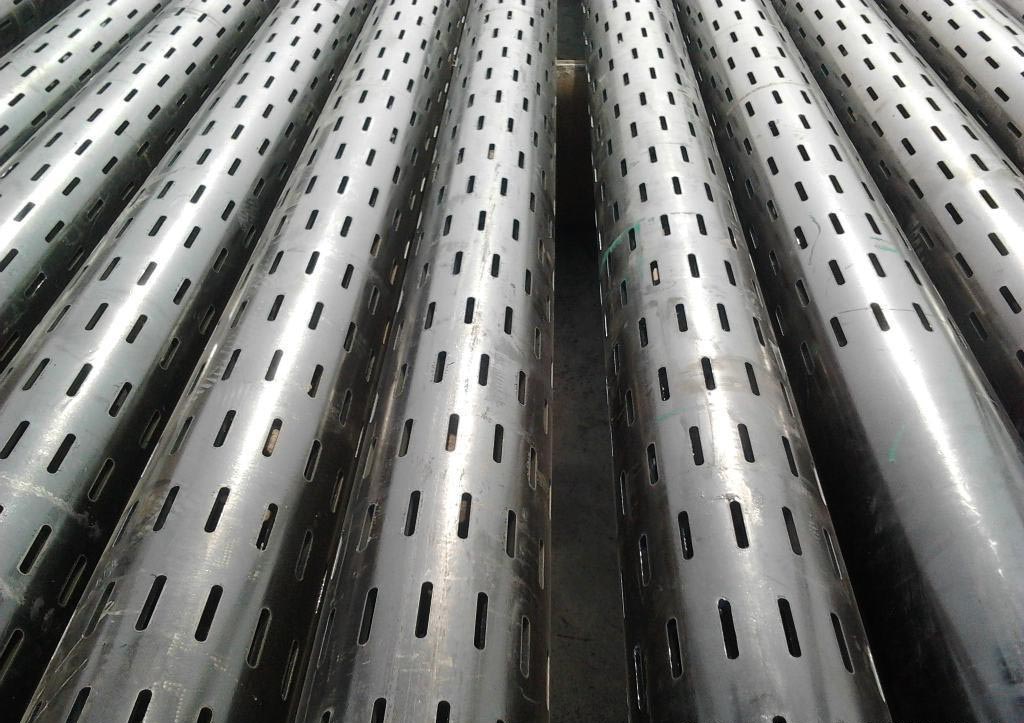
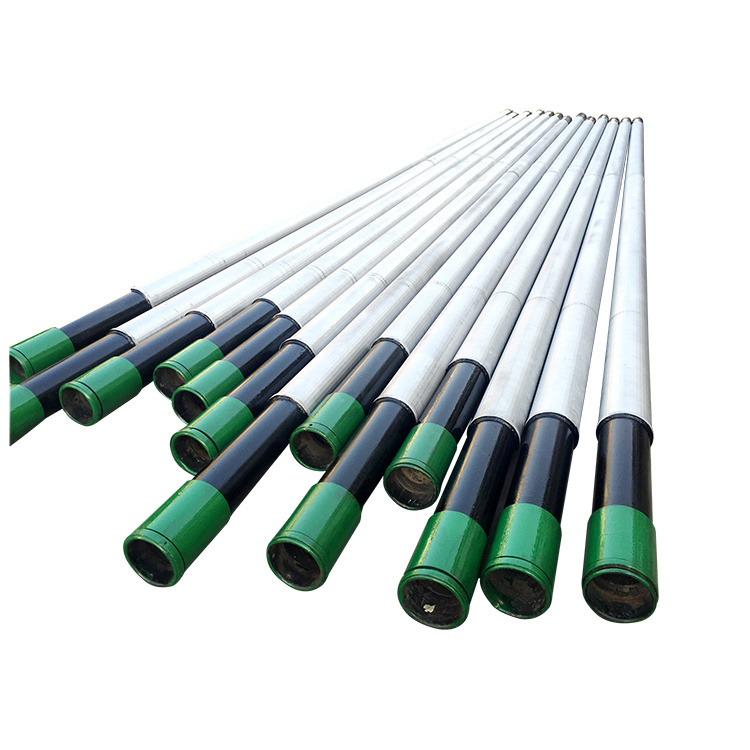
1. Introduction of Slotted Casing Pipe Casing pipe is a large-diameter pipe that serves as the structural retainer for the walls of oil and gas wells, or well bore. It is inserted into a well bore and cemented in place to protect both subsurface formations and the wellbore from collapsing and to allow drilling fluid to circulate and extraction to take place. Slotted casing pipe is a type of casing pipe that has slots machined into its surface. These slots are used to help control the flow of water, oil, and gas in a well bore. The slotted casing pipe is designed to allow water, oil, and gas to flow through the slots while preventing sand and other debris from entering the well bore. Slotted casing pipe is commonly used in oil and gas wells, water wells, and geothermal wells. 2. Types of Slotted Casing Pipe There are two main types of slotted casing pipe: open slot and perforated slot. Open slot casing pipe has slots that are cut into the surface of the pipe in a straight line. These slots are usually spaced evenly apart and are typically about 1/4 inch wide and 1/4 inch deep. Perforated slot Read more
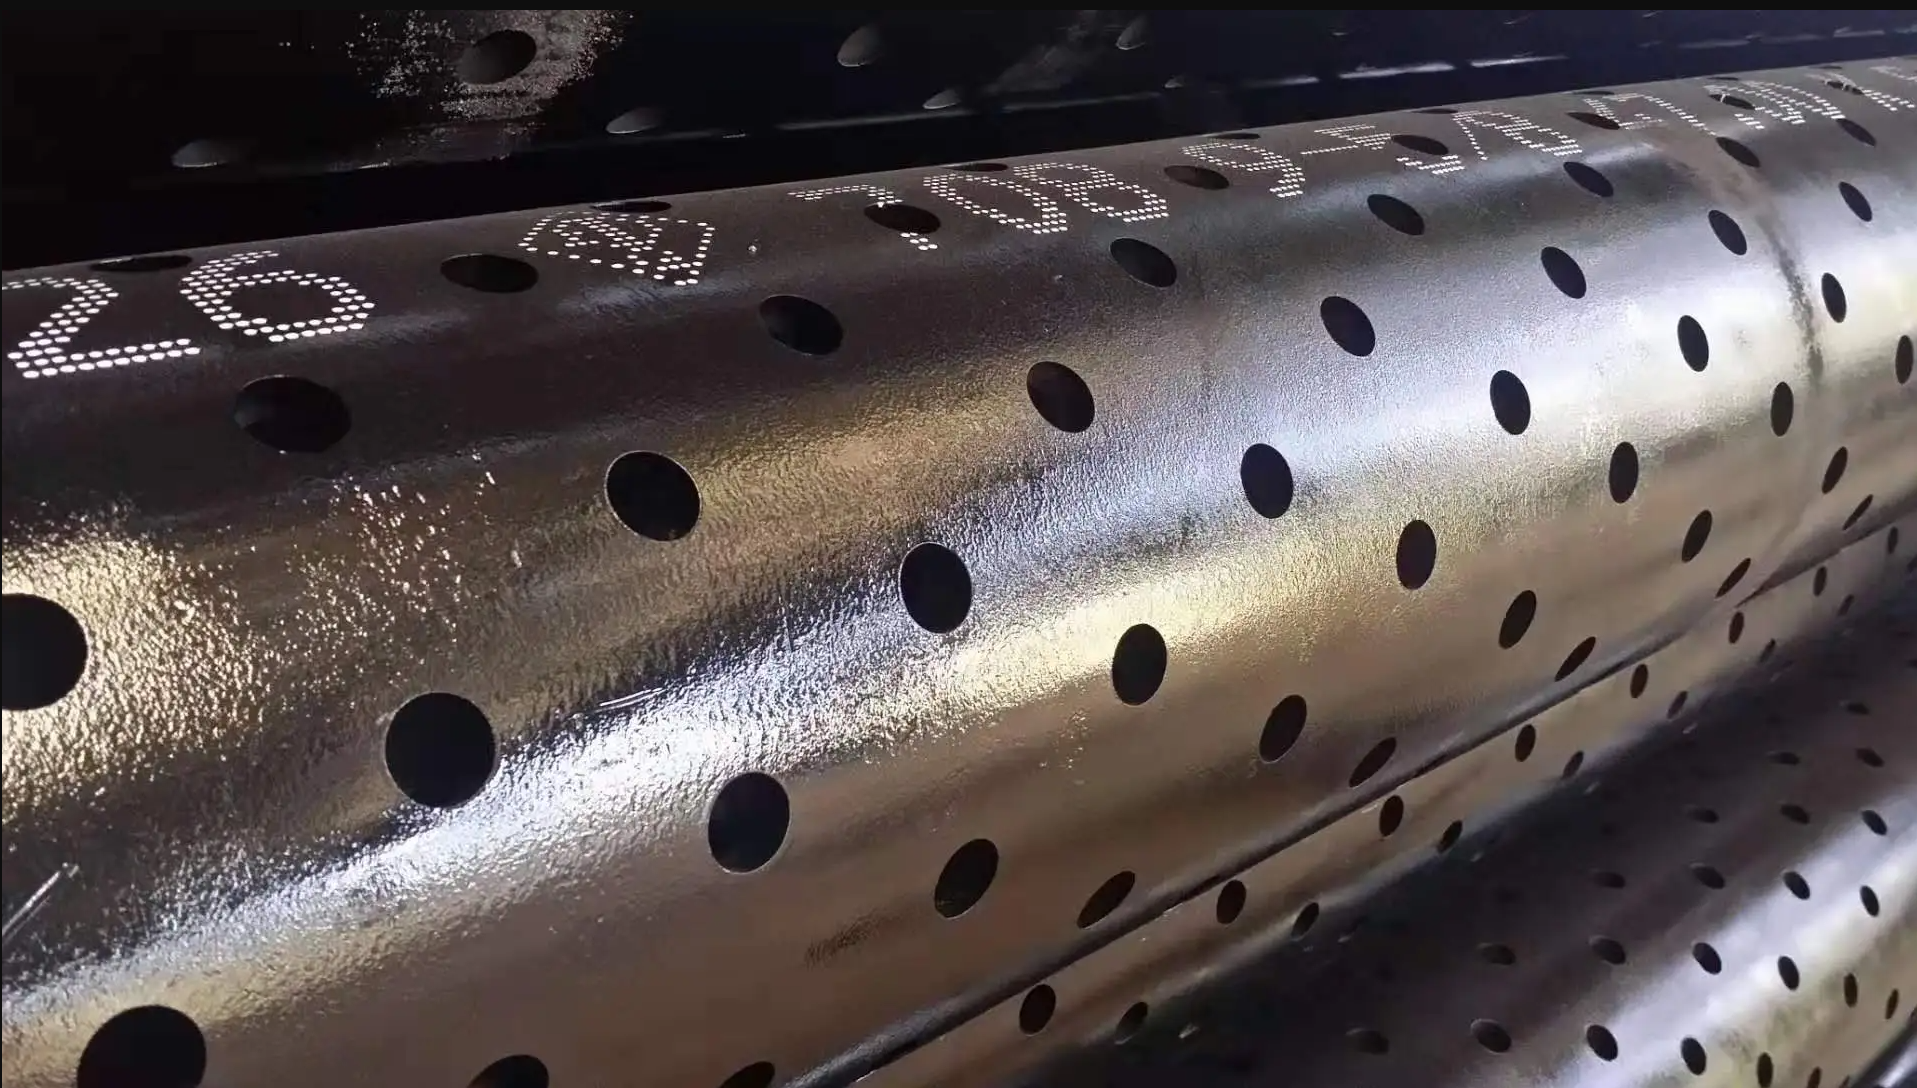
Applications of Perforated Pipe: Perforated well screen is a type of filter used in oil and gas wells. It is designed to control the flow of oil and gas from the well, while preventing sand and other debris from entering the well. perforation in the context of oil wells refers to a hole punched in the casing or liner of an oil well to connect it to the reservoir. Creating a channel between the pay zone and the wellbore to cause oil and gas to flow to the wellbore easily. In cased hole completions, the well will be drilled down past the section of the formation desired for production and will have casing or a liner run in separating the formation from the well bore. The final stage of the completion will involve running in perforating guns, a string of shaped charges, down to the desired depth and firing them to perforate the casing or liner. A typical perforating gun can carry many dozens of explosive charges. Commonly, perforation guns are run on E-line as it is traditional to use electrical signals from the surface to fire the guns. In more highly deviated wells, coiled tubingmay be used. Newer technologies Read more
